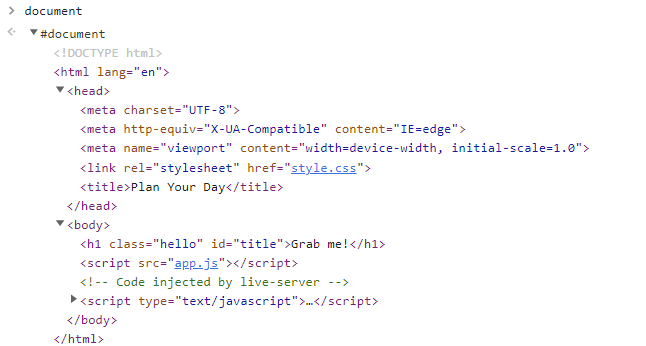
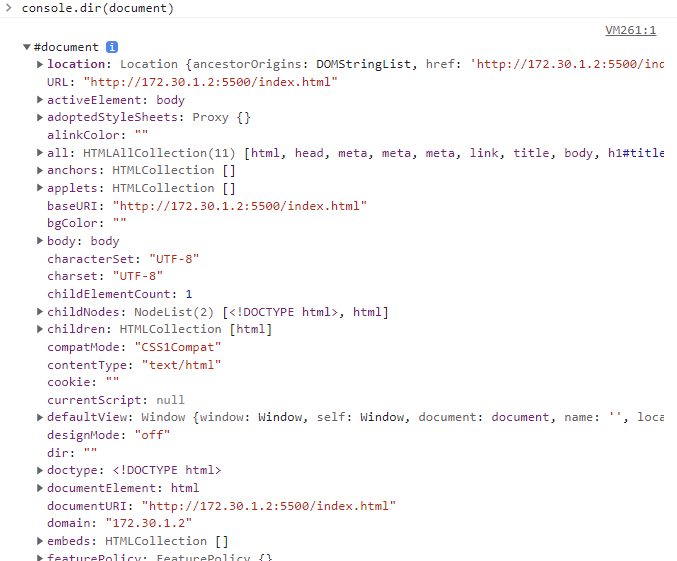
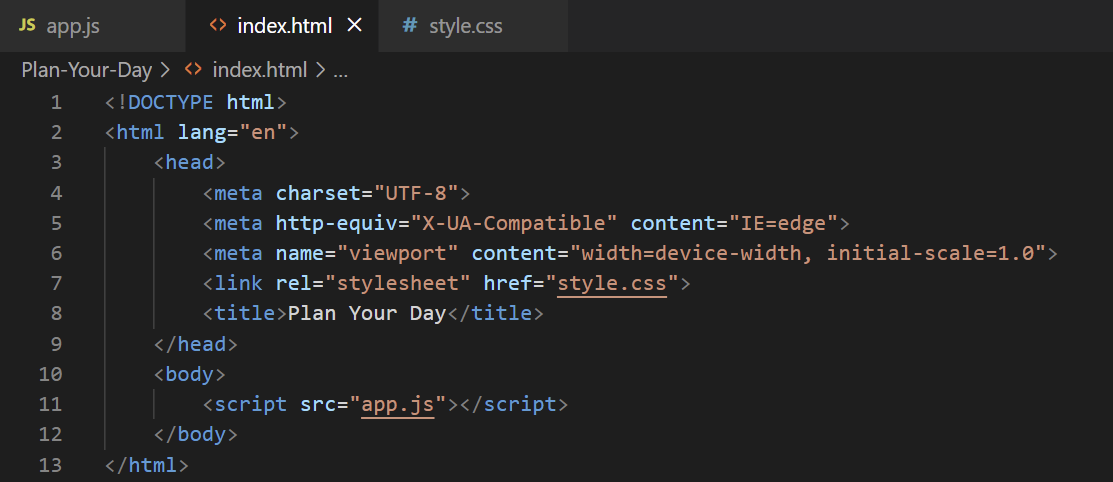
1. JavaScript는 HTML과 연결되어 있다.

console에 document를 입력하면 작성한 HTML을 가져올 수 있다.
JavaScript에서 HTML을 읽어올 수도 있고, JavaScript에서 HTML을 수정할 수도 있다.
2. document는 object이다.

브라우저에서 제공하는 객체중 document 는 JS 에서 HTML 파일을 불러올 수 있도록 도와준다.
3. JavaScript에서 HTML 변경하기


=> title element가 "My Day Plan"으로 변경된다.
4. JavaScript에서 HTML element를 가져오기
(1) getElementById
<h1 id="title">Grab me!</h1> //HTMLconst title = document.getElementById("title"); //JavaScript- HTML의 id로 element를 찾는다.
(2) getElementsByClassName
<h1 class="title">Grab me!</h1> //HTMLconst hellos = document.getElementsByClassName("hello"); //JavaScript
console.log(hellos);
- class명으로 element를 찾아서 array로 반환한다.
(3) getElementsByTagName
<div class="hello">					//HTML
      <h1>Grab me!</h1>
</div>
const title = document.getElementsByTagName("h1"); //JavaScript- 태그명으로 element를 찾아서 array로 반환한다.
(4) querySelector
element를 CSS 방식으로 검색한다.
<div class="hello">					//HTML
      <h1>Grab me! 1</h1>
</div>
<div class="hello">
      <h1>Grab me! 2</h1>
</div>
<div class="hello">
      <h1>Grab me! 3</h1>
</div>
const title = document.querySelector(".hello h1"); //JavaScript
console.log(title);
- 첫 번째로 검색된 element 하나만 반환
(5) querySelectorAll
element를 CSS 방식으로 검색한다.
<div class="hello">					//HTML
      <h1>Grab me! 1</h1>
</div>
<div class="hello">
      <h1>Grab me! 2</h1>
</div>
<div class="hello">
      <h1>Grab me! 3</h1>
</div>
const title = document.querySelectorAll(".hello h1"); //JavaScript
console.log(title);
- 조건에 맞는 모든 element 반환
(6) 두 코드는 동일한 일을 한다.
const title = document.querySelector("#hello"); //무엇을 검색하는지 명확하지 않아서 id(#)라고 명시해야 함const title = document.getElementById("hello");
(7) querySelector 응용
<div class="hello">					//HTML
      <h1>Grab me!</h1>
</div>
const title = document.querySelector(".hello h1"); //JavaScript
title.innerText = "Hello";=> 'Grab me!'가 'Hello'로 변경되어 화면에 나타난다.
5. Event
const h1 = document.querySelector("div.hello:first-child h1");

function handleTitleClick() {
    h1.style.color = "darkgreen";
}

function handleMouseEnter() {
    h1.innerText = "Mouse is here!";
}

function handleMouseLeave() {
    h1.innerText = "Mouse is gone!";
}

function handleWindowResize() {
    document.body.style.backgroundColor = "salmon";
}

function handleWindowCopy() {
    alert("The text is copied!");
}

function handleWindowOffline() {
    alert("WIFI Error");
}

function handleWindowOnline() {
    alert("WIFI is connected");
}

h1.addEventListener("click", handleTitleClick);
h1.addEventListener("mouseenter", handleMouseEnter);
h1.addEventListener("mouseleave", handleMouseLeave);

window.addEventListener("resize", handleWindowResize);
window.addEventListener("copy", handleWindowCopy);
window.addEventListener("offline", handleWindowOffline);
window.addEventListener("online", handleWindowOnline);
6. JavaScript로 CSS 제어하기
const h1 = document.querySelector("div.hello:first-child h1");

function handleTitleClick() {
    const currentColor = h1.style.color;
    let newColor;

    if (currentColor === "darkgreen") {
        newColor = "crimson";
    } else {
        newColor = "darkgreen";
    }
    h1.style.color = newColor;
}

h1.addEventListener("click", handleTitleClick);
7. Toggle
<div class="hello">						//HTML
      <h1 class="my-font">Click me!</h1>
</div>
body { //CSS
background-color: beige;
}
h1 {
color: mediumpurple;
}
.clicked {
color: hotpink;
}
.my-font {
font-family: system-ui, -apple-system, BlinkMacSystemFont, 'Segoe UI', Roboto, Oxygen,
Ubuntu, Cantarell, 'Open Sans', 'Helvetica Neue', sans-serif;
}const h1 = document.querySelector("div.hello:first-child h1"); //JavaScript
function handleTitleClick() {
h1.classList.toggle("clicked");
}
h1.addEventListener("click", handleTitleClick);
toggle function은 아래의 코드를 대체할 수 있다.
function handleTitleClick() {
    const clickedClass = "clicked";
    if (h1.classList.contains(clickedClass)) {
        h1.classList.remove(clickedClass);
    } else {
        h1.classList.add(clickedClass);
    }
}'3-2기 스터디 > 프론트엔드 입문' 카테고리의 다른 글
| [9주차] JavaScript (5) (0) | 2022.06.30 |
|---|---|
| [8주차] JavaScript (4) (0) | 2022.06.30 |
| [6주차] JavaScript (2) (0) | 2022.06.23 |
| [5주차] JavaScript (1) (0) | 2022.06.23 |
| [4주차] CSS (2) (0) | 2022.06.21 |

댓글